
Queen's Domain Walkthrough: The Critical Path Without the Guesswork
A spoiler-light Queen's Domain walkthrough: the path from the shipwreck shore to the Queen's seat, the three progression gates and common stalls.
Queen's Domain does not give you a quest log, a waypoint or a glowing trail. Directions come from NPC dialogue, from the shape of the architecture, and from the one rule the game teaches in its first ten minutes: if a ledge looks reachable, it probably is, and if it is not, Endu needs another upgrade.
This walkthrough follows the critical path in the order the island expects, names the three gates that actually block progress, and tells you where to go when you have forgotten which door you already opened. It is deliberately lighter on story spoilers than a step-by-step transcript, but it does name locations and bosses.
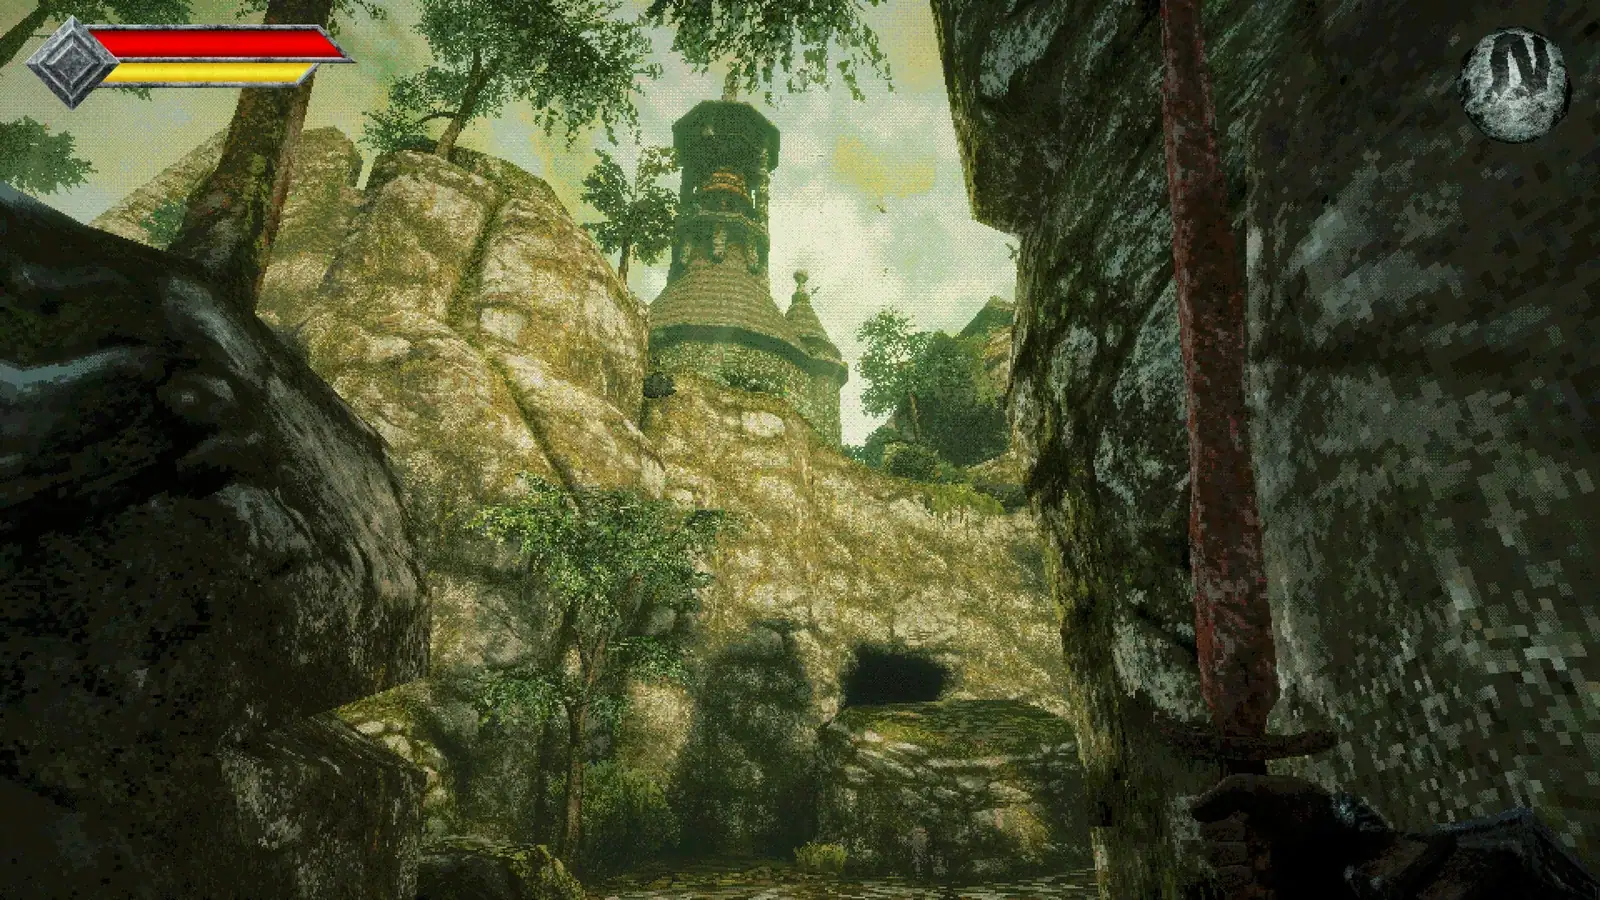
Before you move: the three gates
Almost every "I'm stuck" report in the opening act comes down to one of these:
- The rusty sword gate. You cannot skip the first weapon. Until you have a melee weapon equipped, the beach enemies are a damage race you lose.
- The Endu gate. Several gaps are intentionally just too far for the starting flight. If a jump looks impossible but the platform is clearly authored, stop trying and go find the upgrade.
- The shrine key gate. The burial area is not opened by exploration alone. A key item from the library thread unlocks the shrine, and the shrine unlocks the floor that drops you into a boss arena.
If you are lost, ask which of the three gates you have not cleared. That is usually the answer.
Act 1 — The shore, the soldier and the first monument
You start washed up on the shore of the Isle of Neasied, with no equipment worth the name. The first soldier you meet is not a tutorial mascot; he is the person who tells you that your father, the king, went inland to face the Queen and did not come back. He gives you a rusty sword and points you toward the barricade.
Follow the barricade inland. This stretch is the game's real tutorial, and it teaches three things in order:
- Stamina is a budget. Swinging until empty leaves you unable to retreat. Practise entering a fight with a full bar and leaving with a quarter.
- Throwing weapons are free pressure. The secondary slot runs on a cooldown, not ammo. Use it to pull one enemy out of a group instead of walking into three.
- Crystal monuments are the only safe reset. The first one you find restores health and sets your respawn point. Touch every one you pass; there is no downside.
Do not grind on the beach. The enemies there give little and the first real weapon upgrade is inland. If the first frog-faced spear carrier is killing you, read the beginner guide before pushing on.
A rusty sword and an empty stomach are the intended low point. One decent drop and one cooked meal change the math more than ten minutes of careful dodging.
Act 2 — The outpost and the first real ruin
The path inland reaches a trading outpost associated with Umbada. This is the first place where money matters. Buy consumables, not cosmetics: elixirs, cleanse items and anything that removes a status you have already seen. The outpost is also a natural place to test a new weapon before committing to the ruin ahead.
From the outpost, the route climbs into temple courtyards. The enemies here are the ones in the launch screenshots: frog-faced spear carriers, octopus-headed walkers and skull-club brutes. Two practical notes:
- Spear carriers punish straight lines. Break the line with a pillar or a jump before you commit to a charged attack.
- Skull-club brutes are slow but track hard. Their wind-up is long enough to walk around; their recovery is not long enough to punish with a full three-hit string.
The courtyards are also where Endu's limits become obvious. If you can see a ledge across a gap and the flight dies just short, mark it and move on. The Holy Sword guide explains which upgrades extend the glide and which gaps are meant to be solved later.
Act 3 — The library, Wourha and the forbidden archives
The library is the first proper story gate. Inside, the Knowledge Keeper Wourha recognises you as a prince of the Abraon family and explains that things have gone from bad to worse since "that knight" arrived. The conversation points you toward the forbidden archives and the key that opens them.
This is the part players skip by accident. The library is quiet, the NPC is polite, and it is easy to treat the room as lore and leave. Do not. The archives key is the first half of the shrine key chain, and the knight thread is the reason the burial area is hostile rather than merely abandoned.
Search the library properly before you leave:
- Read the scrolls on the upper shelves; at least one describes the burial area's locking mechanism in plain language.
- Check the back rooms for a chest, not just the main reading floor.
- Talk to Wourha twice. The second conversation adds a detail about the knight that the first one withholds.
Official source: Queen's Domain on Steam frames the island as a place where "sinister forces gather, secrets hide everywhere, and the sleeping Queen has begun to stir." The library is where that sentence stops being flavour text.
Act 4 — The burial area and the shrine key
The burial area is the first dungeon that behaves like a puzzle box. The critical object is the shrine key, and the critical trick is that the key is not always in a chest. In the demo route, a tombstone with a diamond-shaped hole accepts a thrown dagger; the dagger opens a hidden door rather than a lock. Expect the full game to reuse that grammar: a slot, a shape, and a throwable that fits it.
Once inside the shrine, the route opens a mausoleum. Pull the lever inside and the floor outside opens, dropping you toward a boss arena. This is intentional and not a trap: the drop is the transition, and there is no way back up until the fight is over.
Before you drop, do three things:
- Spend your money. You do not need a full purse in a boss arena.
- Rest at the nearest crystal monument, even if your health is full.
- Equip a throwing weapon with a fast cooldown. The boss arenas are large, and the gap between melee windows is where throwables earn their slot.
The boss guide covers the three named encounters, including the Black Skeletal Butcher's corridor and the Noble Sentinel's seaside platform. If you are dying on the drop itself, you are not under-levelled; you are landing in the wrong spot.
Act 5 — The red void and the Queen's seat
The late-game route moves from stone and sea into the red void seen in the launch material, where the Necronomicon floats as a book and a face. This is the point where the game stops pretending to be a ruin crawl and becomes a boss gauntlet. The arena is open, the floor is readable, and the main threat is the projectile pattern rather than the melee chase.
Two rules hold here:
- Strafe, do not sprint. The red void's attacks are spaced for lateral movement; sprinting burns stamina you need for the punish.
- Use the whole arena. The Necronomicon's pattern leaves a safe lane on the outer ring. Hugging the centre is how the fight becomes a wall.
The Queen's seat follows. This guide stops short of naming the final sequence because the ending structure is not something we will guess at. The FAQ answers the common ending questions without inventing branches, and the review roundup discusses the ending's reception without spelling it out.
If you are stuck right now
| Symptom | Most likely cause | Fix |
|---|---|---|
| A gap kills you every time | Endu upgrade not found | Leave, explore the previous region's side rooms |
| A door has no keyhole | It is a puzzle, not a lock | Look for a slot, hole or lever nearby |
| A boss drops you in | The mausoleum lever opened the floor | Land on the lit platform, not the edge |
| Enemies feel twice as strong | You skipped the outpost gear | Buy a weapon upgrade and cook a stat meal |
| You cannot find the library | You passed the courtyard tower | The library entrance is above the first monument |
| Your attacks do nothing | Wrong damage type | Check the bestiary and carry one slash, pierce and impact option |
The map page has the region connections in one diagram, and the save points page explains how respawns and enemy resets work so you do not lose a cleared room.
A note on route order
Queen's Domain allows sequence breaking. If you can survive a region, you can usually walk into it, and the game will not stop you with a level gate. The order above is the low-friction order, not the only order. If you find a route that skips the library and still opens the shrine, take it; the tips page lists the shortcuts that are worth the risk and the ones that strand you without a save.
Further reading
-
Queen's Domain review — The Wand Report — 9/10 launch review with route and progression observations.
-
Queen's Domain is a brilliant King's Field-alike RPG — Rock Paper Shotgun — launch-day review of traversal and the flying sword.
FAQ
How long is the walkthrough? The critical path is roughly 40 hours at the developer's stated length, and completionist play is longer. The route above covers the mandatory gates, not every side room.
Can I miss the library permanently? No. The library remains reachable after the shrine opens; the gate is knowledge, not a one-time door.
Is there a point of no return? The mausoleum drop is a local point of no return for that boss attempt. The wider island remains open until the late-game sequence.
More Queen's Domain Guides
Queen's Domain combat explained: stamina budgeting, charged attacks, weapon specials, dash's missing i-frames and spacing rules that keep you alive.
Every verified Queen's Domain demo secret: the dagger-slot tombstone, the hidden meal, the secret shop, Wourha's archive key and five achievements.
The Queen's Domain FAQ: release date, platforms, price, game length, co-op, demo saves, respec, endings, map, Steam Deck and the Souls comparison.
Queen's Domain food explained: which meals raise stats, which items only heal, where the Roasted Ojum Lizard fits and when to eat before a boss.
How the Holy Sword Endu works in Queen's Domain: the shoulder-button flight, how upgrades extend distance, and how to read a gap before you jump.
A practical Queen's Domain map: the confirmed regions of the Isle of Neasied, how they connect, one-way drops and navigating without a map screen.
Queen's Domain is out now, October 30, 2026, on PC, PS5, Xbox Series and Switch 2. Price, launch discount, length, demo and Steam Deck status.
A roundup of Queen's Domain reviews and previews: the 9/10 Wand Report verdict, RPS on its King's Field lineage, and the criticisms worth knowing.